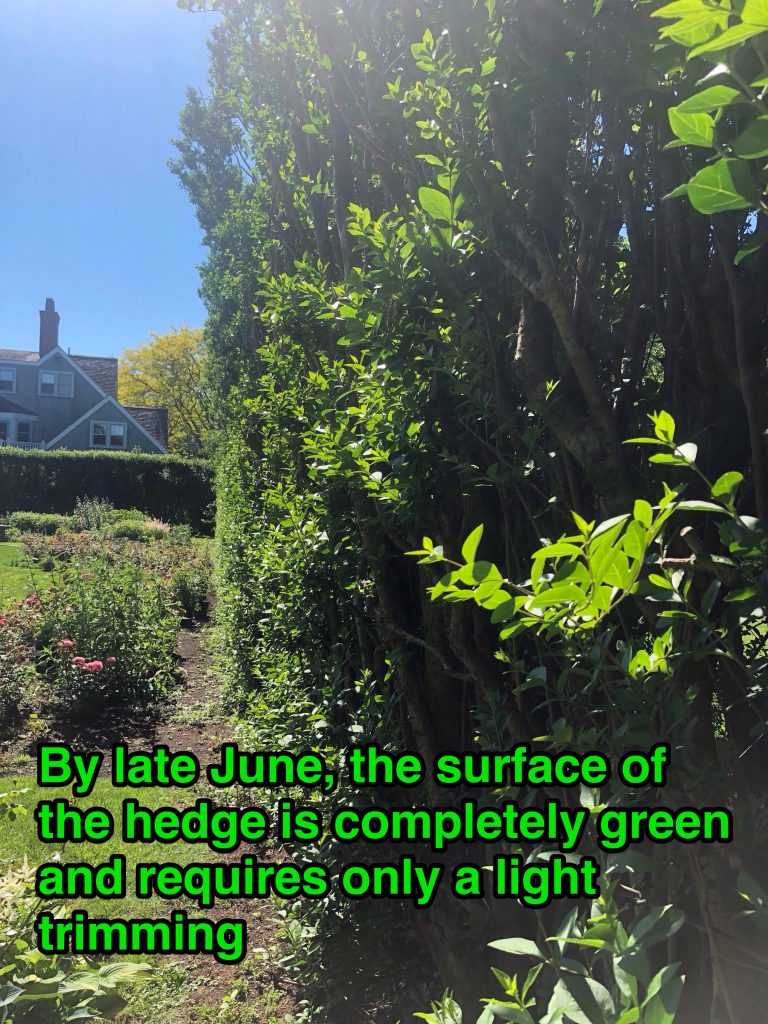
Privet hedges are used all over the island as a beautiful way to border properties and break up large landscapes into smaller spaces. In a lot of ways, privet is an ideal plant for tall hedges because it grows quickly and can be maintained at a relatively narrow width. However, even well-maintained hedges slowly widen over the years, and established plantings will need a harder pruning every so often to stay healthy and in bounds.
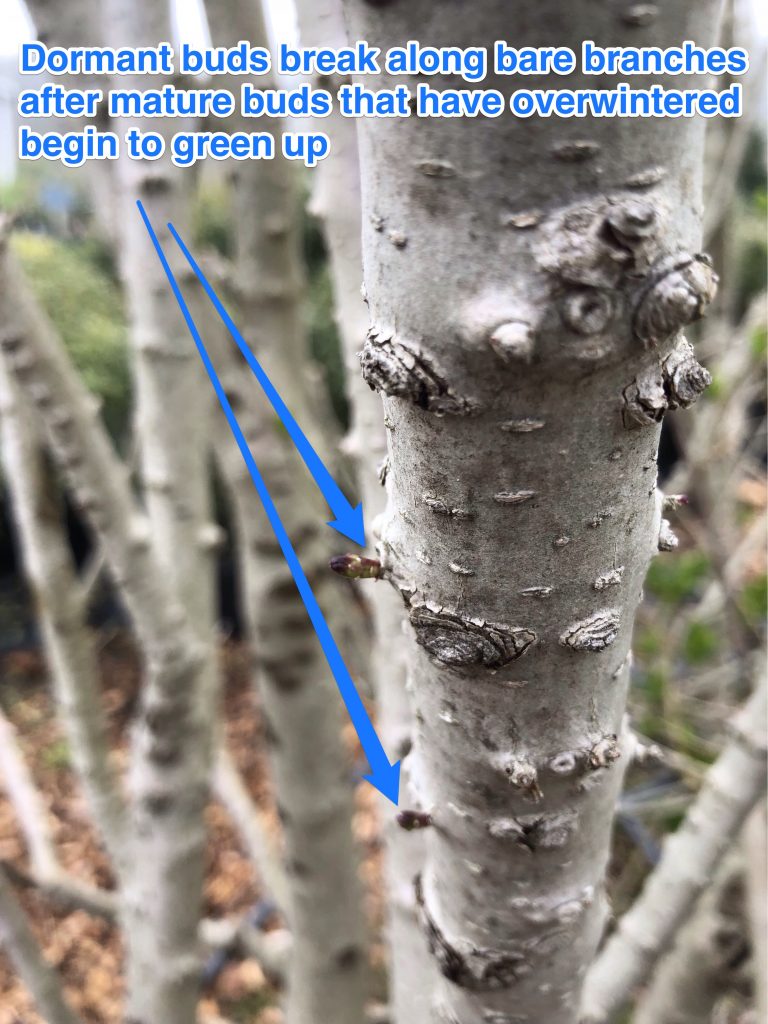
 Shearing hedges is a necessary part of maintenance, but this practice can cause problems in the long run. When woody plants are repeatedly sheared, a dense layer of tiny twigs builds up on the outside, shading the interior stems and inhibiting dormant buds from sprouting. As hedges age, dead wood can also accumulate in the center. It’s not so much that it’s wrong to shear hedges; it’s more a matter of realizing that in order to keep a hedge healthy in the long run, renovation is required from time to time. Removing the dense growth on the outside allows sunlight to fall on the dormant buds below, stimulating strong, healthy, new growth. It also makes it much easier to saw out dead branches and scout for insect pests like scale and thrips that live directly on the bark. This procedure is best done during the dormant season.
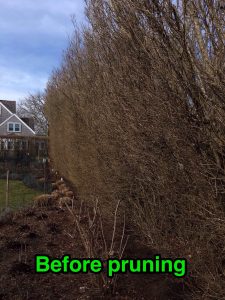
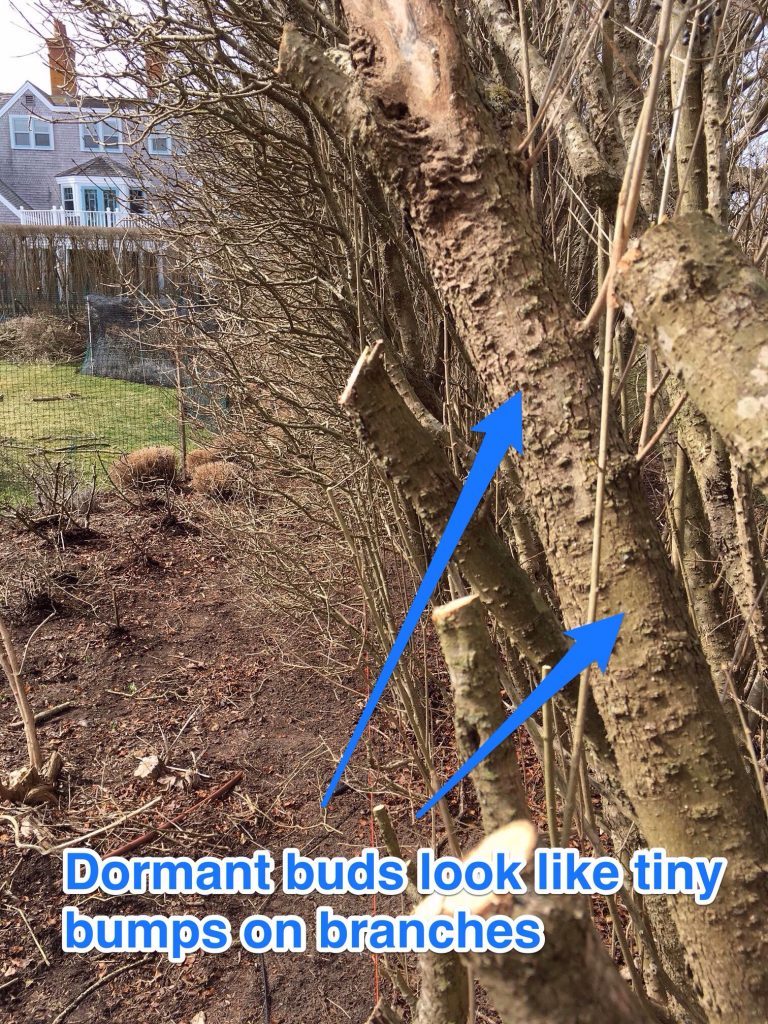
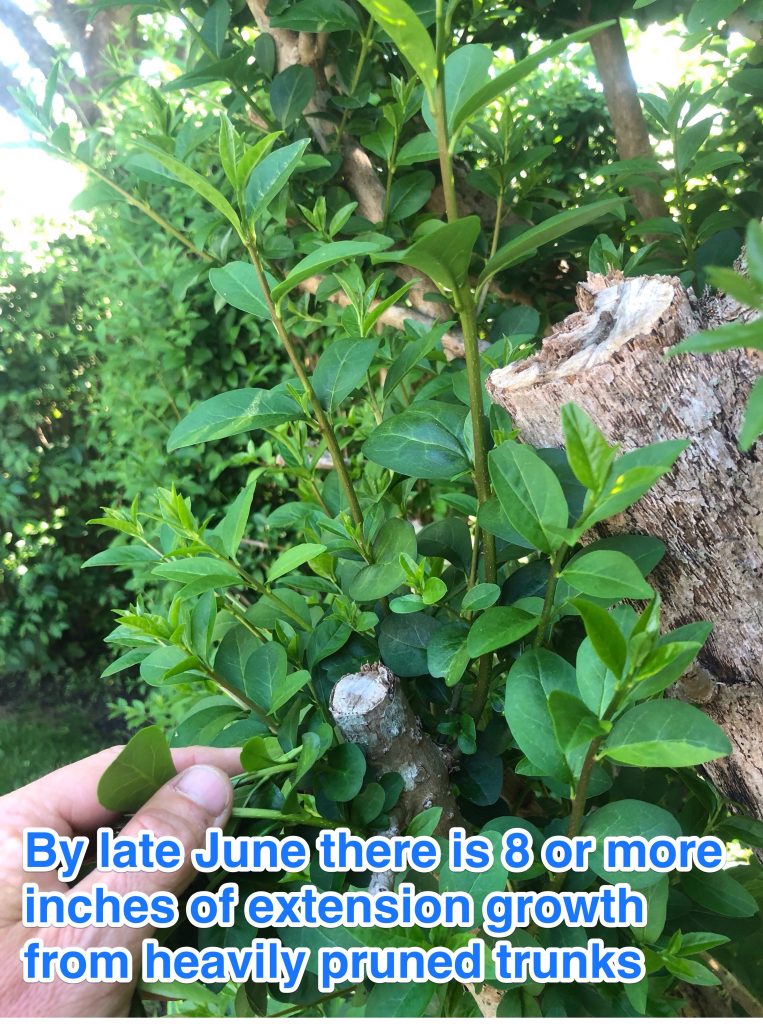
There are several ways to approach renovating a privet hedge. Because privet grows rapidly, a declining hedge could be cut to within a few inches of the ground and allowed to completely regenerate. If well irrigated and fertilized, one might expect 4-5 feet of growth in a single growing season. This drastic approach won’t be acceptable in most situations. I usually suggest that a hedge be renovated over 2 or three seasons, making deep cuts on one side per year. Leaving one side un-pruned guarantees continued screening during the summer. Although it can be nerve-wracking to make big cuts, be assured there are hundreds of dormant buds waiting just below the surface of each trunk and branch that will sprout once the sun shines upon them.
 Be sure to use the proper tools for the job. Branches narrower than ½” in diameter can be cut with regular hand pruners. Branches up to 1” should be cut with sharp loppers. Anything wider than an inch should be cut with a hand-held pruning saw or chainsaw.
Consider following these steps:
- Choose the side that will be worked on. Rake all the debris out from under that side.
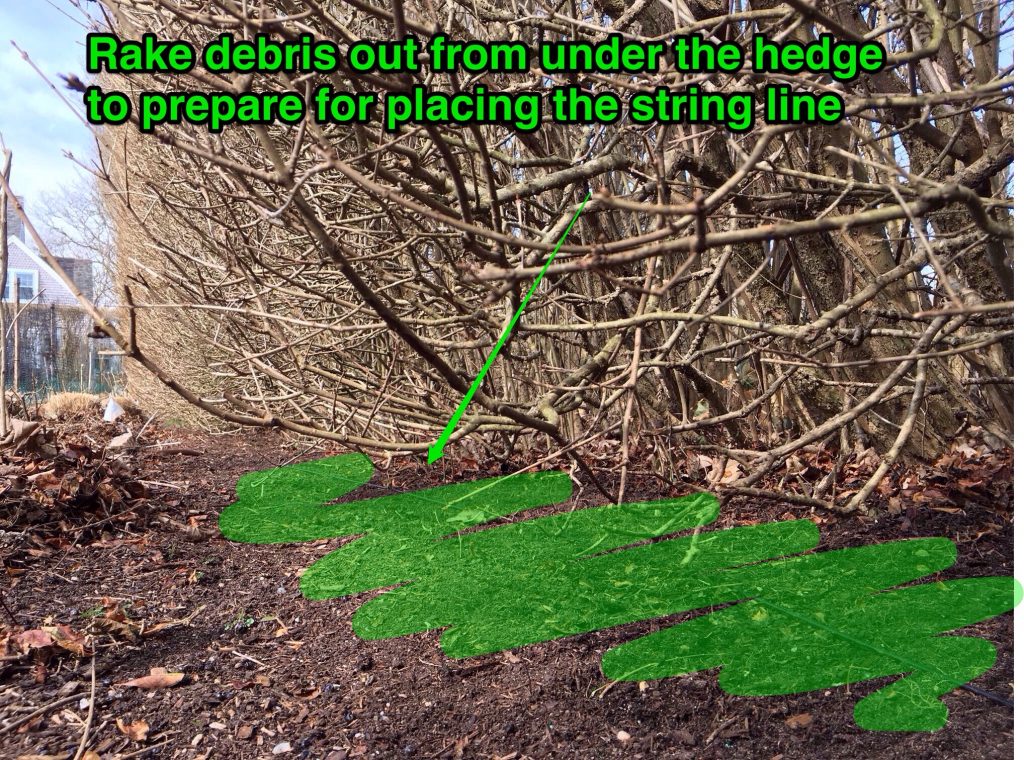
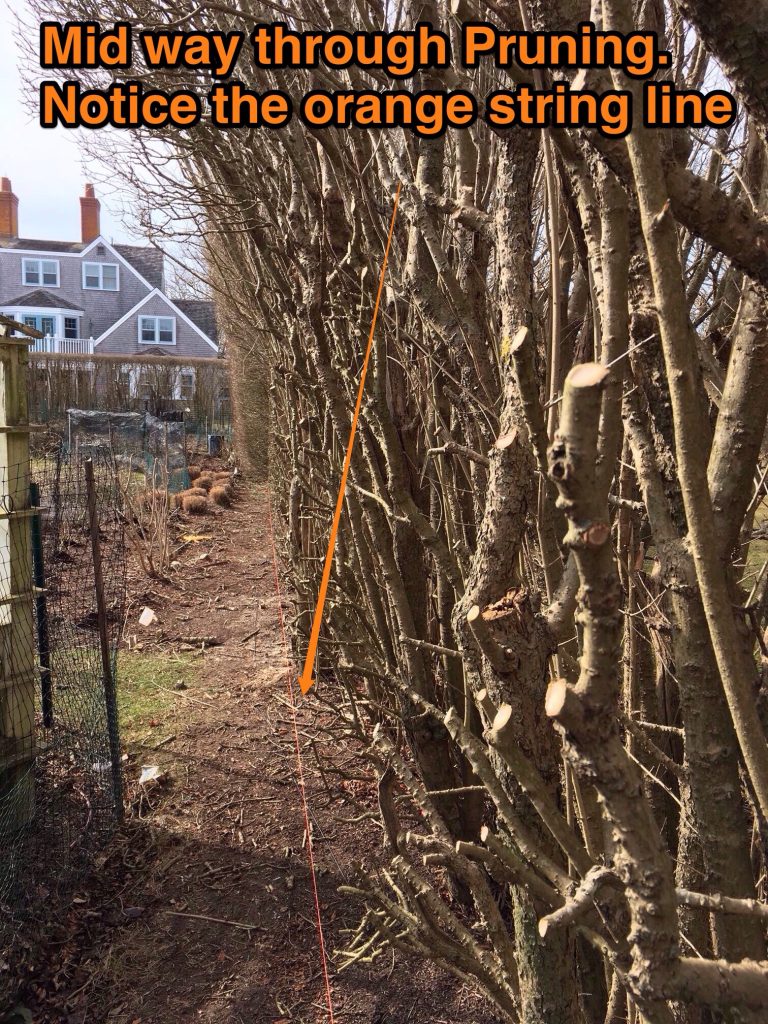
- Determine how much wood will be removed and set a string line along the ground as a guide for pruning. Make sure it is tight, and hovers above the ground without snagging on the lower branches of the hedge.
- A second line can be strung at chest-height as well, but it’s a challenge to get it in place before pruning. Tie the string line onto sturdy stakes that won’t pull in allowing the line to sag as you are working. Prune around the line, so that hangs freely and doesn’t snag on the branches.
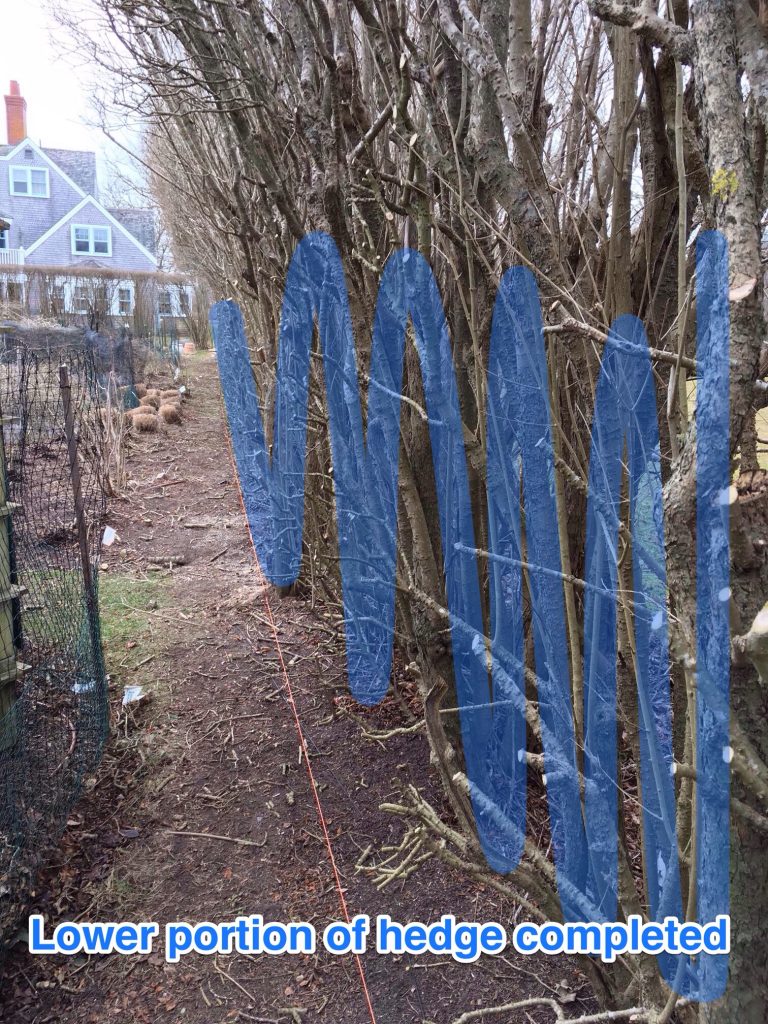
- Start pruning on one end. Work from the ground up to as high as you can reach, establishing a vertical plane with the string lines as reference. NOTE: A properly pruned hedge has a narrow “A” shape; tighter at the top than it is at the bottom. It is acceptable to maintain a 90 degree angle to the grade, but never allow the top portion of the hedge to splay out wider than the bottom.
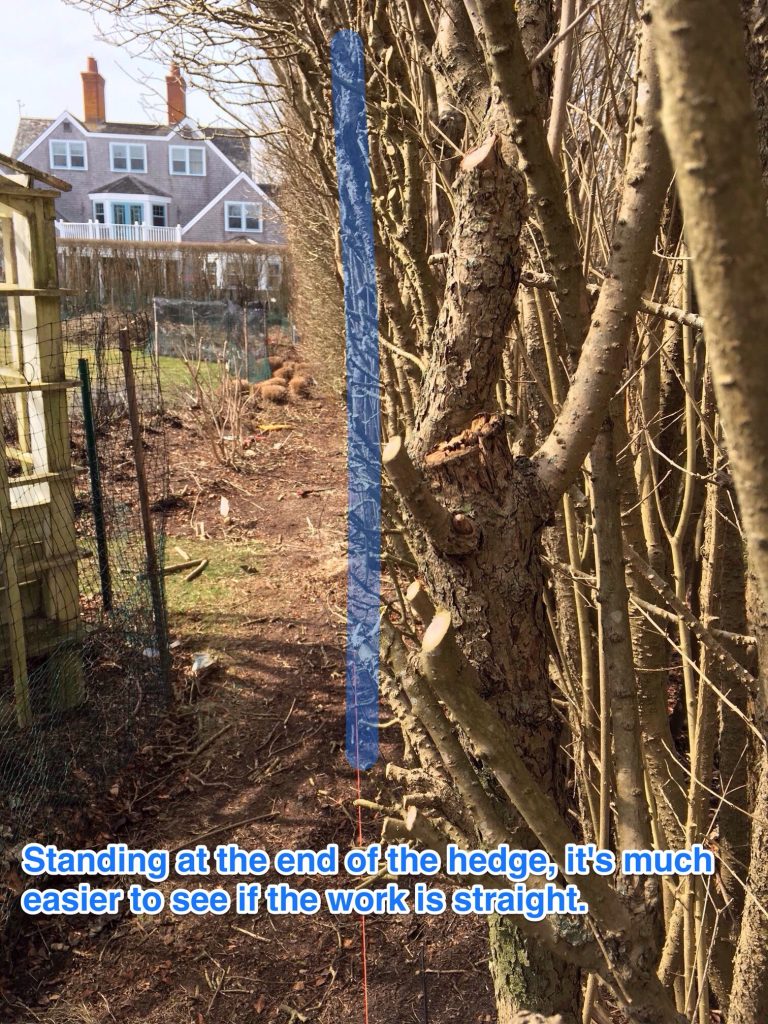
- From time to time stand back and scrutinize your work. When you are right next to the hedge, it’s hard to judge whether or not it’s straight. It’s much easier to stand at the end that’s completd and look down the length of the privet with one eye closed. Move back and forth slowly and you can see any spots that still poke out past the string line.
- On taller hedges, you may need to make a second pass above your first to finish the job. Pole saws and pruners can be used. There is even a chainsaw available that is on a long pole. Personally, I much prefer using a sturdy ladder, or scaffolding made between two Little Giant ladders. NEVER EXTEND A CONVENTIONAL CHAINSAW ABOVE MID-TORSO TO MAKE A CUT OR STRAIN TO TRIM A BRANCH JUST OUT OF REACH. Always move your ladder to a comfortable working distance. Don’t forget; the top should be narrower than the bottom.
- I suggest pruning the top each time you do a renovation, even if you don’t want to reduce the overall height. This extra step allows maximum sun penetration over the upcoming season.
- Once the major pruning operation is complete, make sure all dead wood is removed and take a good look at the bare wood remaining. Scale insects and thrips have become more of a problem on Privet over the last few years. If large populations of any pest are found, consider applying a control.
- Power-washing has become widely used as a means of destroying tiny insects that overwinter on woody plants. Although I haven’t tried this approach, I have heard good things about its’ efficacy. Power-washing is best done while the plants are still dormant. If you are considering it, do your research and complete the process before buds begin to break in spring.