How to Prune Mop Head Hydrangeas

Hydrangea macrophylla 'Blue Cassel' - Blue Cassel Big Leaf Lacecap Hydrangea

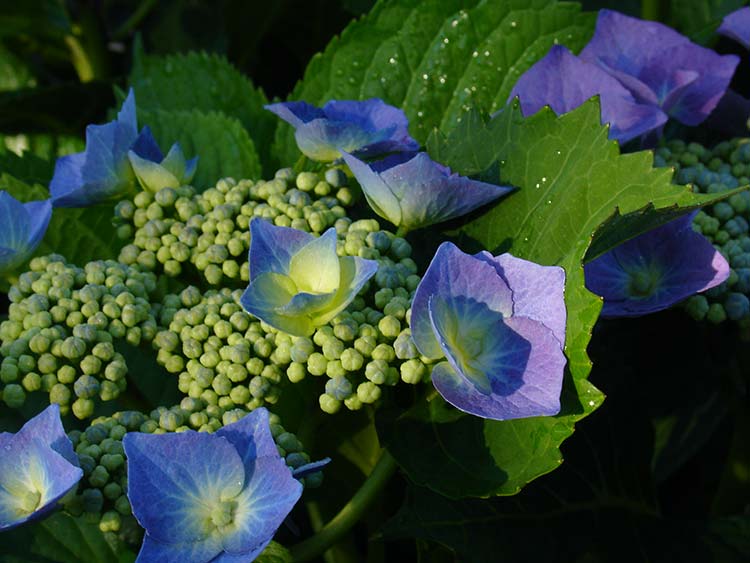
There are a lot of things that define what kind of gardener a person is.  Some of us are spring clean-up people, some are fall clean up people; some like to prune woodies in fall, some in spring. If you are a spring pruner, it’s the perfect time to get out your pruners and go to work! One of the plants often pruned this time of year is Hydrangea macrophylla.


When Pruning Hydrangeas keep your objectives in mind:

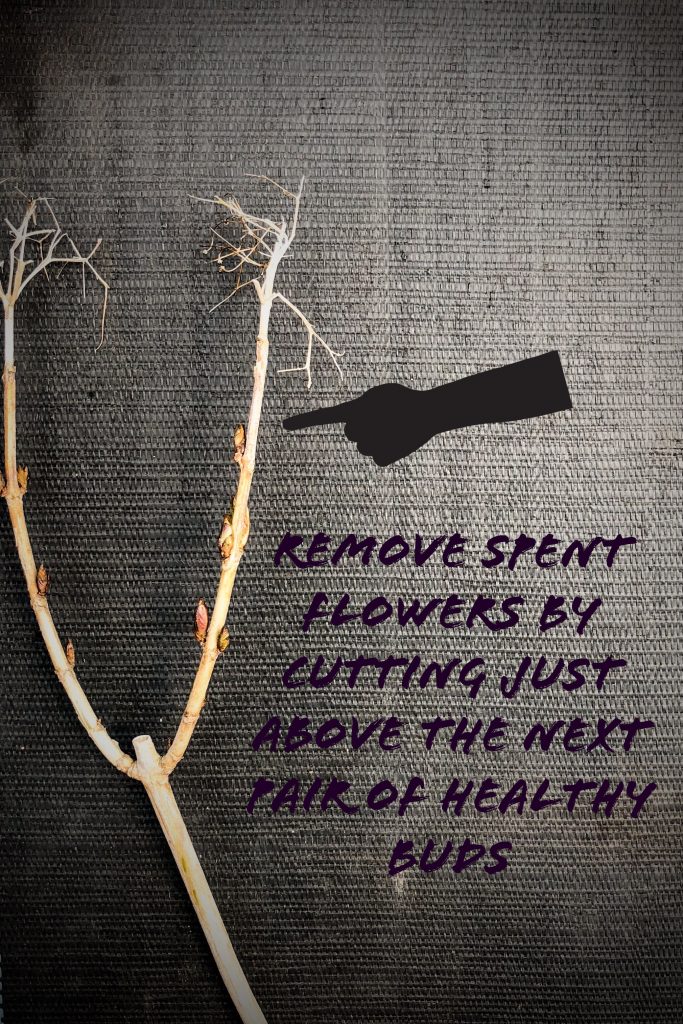
  • Removal of spent flowers from the previous season.
  • Removal of dead wood.
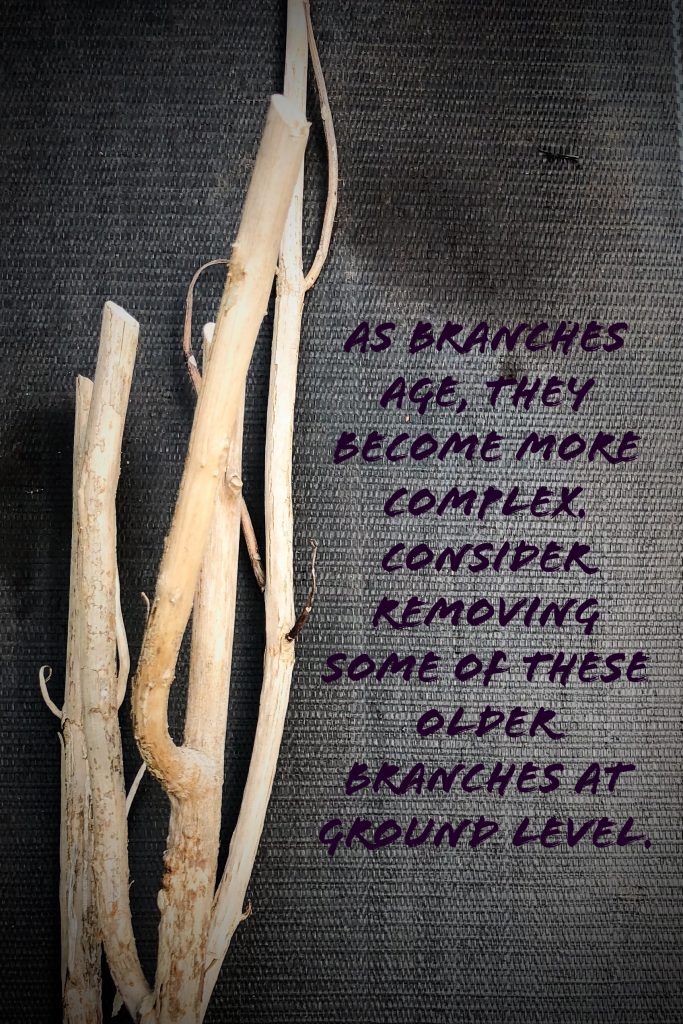
  • Thinning out the shrub by removing:  Stems that are older than three years; Large complex branches; Branches that cross the center and tend to rub on more desirable stems; Stems that run horizontally along the ground and root, increasing the overall size of the plant.
  • Shaping the shrub into a natural-looking, balanced, spherical shape.


Follow these steps:

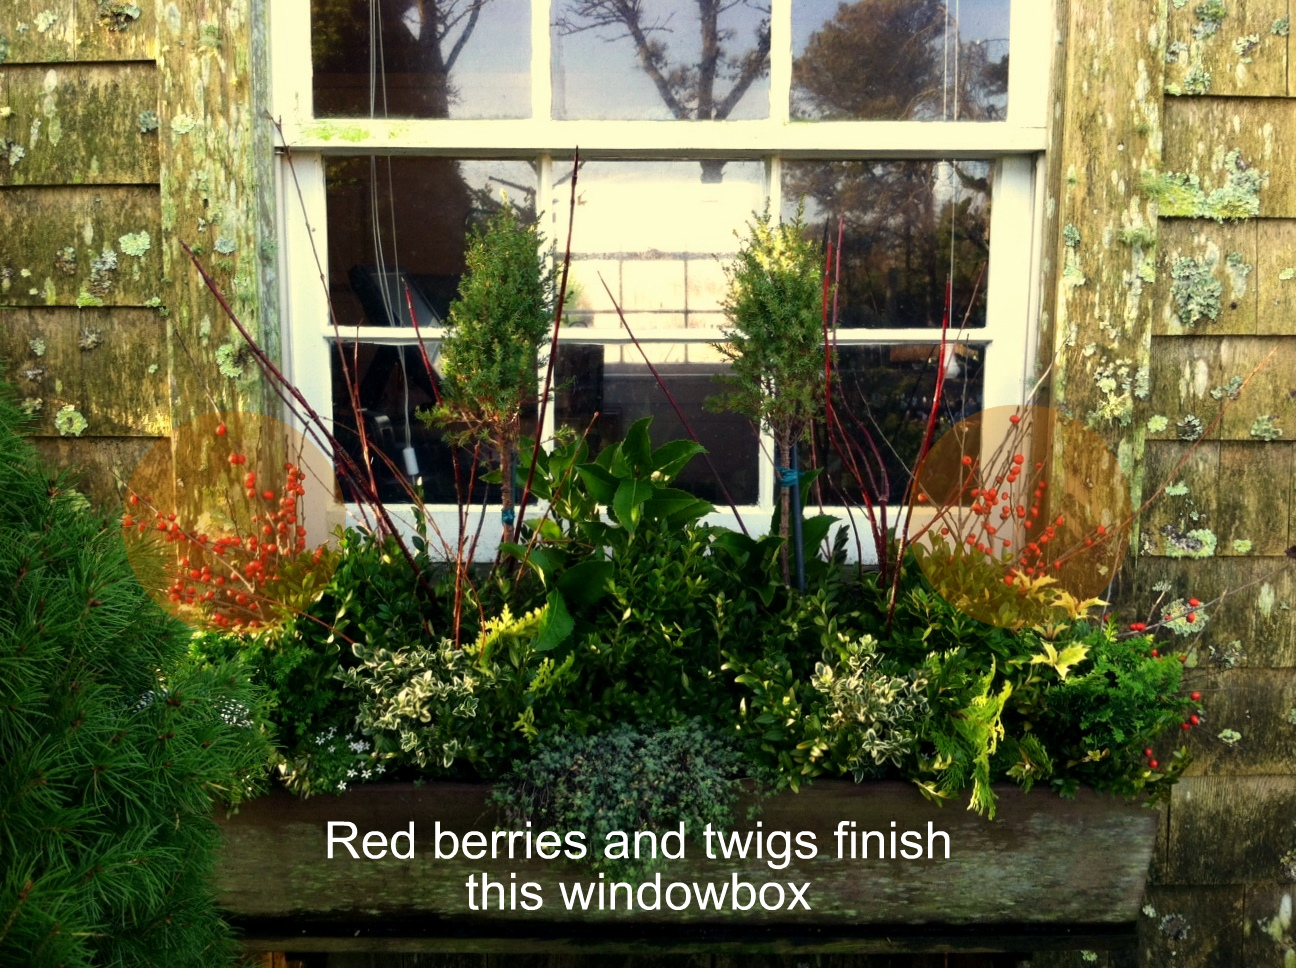
  1. Take a moment to look at the over-all shape and size of the plant. Is it too large for it’s space? Hydrangeas in foundation plantings tend to “eat the lawn” over time. Consider widening the bed to accommodate the mature size of the plants, instead of pruning the plant back to an unnatural-looking shape. * ‘Nikko Blue’ Hydrangeas, in particular, tend to get very tall and wide – covering windows and brushing against shingles on the side of the house. There is no way to keep a ‘Nikko Blue’ Hydrangea blooming each year and shorter than 4 feet, if you are battling huge plants, consider replacing them with a smaller variety.
  2. Remove all spent flowers from the tips of the stems. All pruning cuts should be made just above a healthy set of buds. There is no need to “tip branches” if there are no faded flowers to remove. Buds overwintering in the top portion of the plant have the potential to flower.  If too much material is removed, the plant may not flower at all.
  3. Remove all dead and damaged stems. It is preferable to completely remove dead stems at ground level where possible.
  4. Remove about a third of the overall bulk of the stems, following the guidelines above. This helps increase sun and air circulation in the center of the plant, initiating flower bud formation and strong new growth from the base.
  5. If you must, cut back no more than a few feet from the top of the shrub, to get it below a window or railing.  Keep in mind, the plant will quickly grow back to it’s natural size by the middle of the summer.
  6. Step back, and take a look at your work. Make final cuts, leaving a rounded, balanced shrub.

Much Ado about Mulching

January can be a tough month for year-round gardeners on Nantucket. With a mailbox filled with garden supply and seed catalogues, it can be nearly impossible to stay inside on those random “almost warm” days. Maybe you want to get some of the hard spring clean-up work done early? Thinking about easing off some of those holiday lbs?

If a few warm, dry days are forcast, why not do your mulching? The plants certainly don’t care if you get it out of the way. Trees, shrubs and perennials all benefit from a nice layer of mulch to keep soil temperatures regulated during winter freeze and thaw cycles.

Don’t forget, plants that are suited to growing in the North East naturally create their own mulch. Fallen leaves, needles, ground cover plants and spent growth from previous growing seasons carpet the ground in natural forests and meadows all winter. We tend to tamper with this natural system. A combination of leaf and pine needle cleanup, and high winter wind can really thin down the mulch layer on top of the soil, especially if you are the kind of gardener that likes to keep your beds super-clean. If you do want to do some mulching, here are some tips:

SITE PREP:

It’s best to work in the garden when the soil is on the dry side to avoid compaction. If we have a wet spell, stay out the garden all together.

If you have mulch delivered, or you like to work from a pile in a centralized location, consider layering two tarps on top of each other before dropping the mulch off the truck. Preventing mulch from migrating onto your lawn, or into the gravel or shell in the driveway is the best way to avoid an annoying clean-up after a long day.

Be sure to pull any weeds you find growing before you begin. Some gardeners have the idea that mulch “smothers” weeds. But I guarantee you, mulch spread at the proper depth will not irradicate grass, dandilions, or any other perennial weeds.

If you use organic fertilizer, feel free to apply it before the mulch goes down. Organic fertilizers can be used any time of year, because their nutrients are only available to plants when soil organisms can break them down for plants to use. When temperatures rise in spring, and soil organisms become active, the fertilizer is in place, ready for them to break down and give to your plants.

THE REAL HOW TO:

If you are lucky enough to work off of the back of a dump truck, do so. Whenver the mulch gets too far out of reach, put up the tailgate and raise the bed. The much effortlessly slides back into reach.

Work with a partner! Mulching is hard work – split it up by having one person bring and pile mulch into the beds and another spread the piles into an even 3 inch deep layer.

It can be tough to manoever a wheel barrow in tightly planted beds. Use a bucket to scoop mulch from the wheel barrow and dump it in piles throughout the beds

Small piles of mulch are much easier to spread than large ones. If your partner runs out of mulch in a particular spot you can bring him another bucket-full on the next trip.

Mulch is most easily scooped with a light pitchfork with three or four tines.

If you are working with a few friends, and you want to avoid a lull in work, let everyone make piles, then go to pick up more mulch. Your helpers can spread what is on the ground while you go to get the next load.

AVOID COMMON MISTAKES:

Never let mulch touch the crown of plants. One of the benefits of mulch is that it holds moisture. But this moisture next to the crown of plants can cause more harm than good. This is especially true with trees and shrubs. Leave a space of a few inches around the trunks of trees and the base of shrubs. This will ensure mulch doesn’t rot the bark close to the soil, or make a home for insects like turpentine beetles.

Mulch is at its best when it is spread 3 inches deep; much less and it’s not effective, much more and it is just a waste. Not to mention that thick layers of mulch can build up over time causing numerous problems. Try to be aware of the thickness of the mulch before you start and as you are working. If your garden still has a thin layer of mulch from last year, you may only need to add another inch or two.

Don’t let mulch pile up next to hardwood shingles on your house or outbuildings. The mulch will quickly rot out the lower shingles, forcing you to replace them sooner than you would otherwise.


Holiday Window Boxes


Holiday windowboxIn a recent news letter, I published this series of photos detailing how I put together a holiday window box for our sales office here at the nursery.  This design is a good jumping off point, but it’s just one take on Holiday window boxes, so, experiment!  Have fun with it!

Holiday Windowbox How To-1

Holiday Windowbox How To-2


Holiday windowbox-3Holiday Windowbox How ToHoliday windowbox-5Holiday windowbox-6


Deer Damage

Deer are awfully cute, but they can do a great deal of damage in the garden! We have our own share of trouble with them here at Surfing Hydrangea Nursery. Rabbits, rats, voles, – even house cats will take a meal of our ornamentals and edibles. But deer are by far the most distructive and expensive to control in Nantucket’s gardens.

Here are the tell-tale signs of Deer Browsing:

  • A ragged or torn appearance to leaves and twigs
  • Un-eaten twigs or leaves scattered around plants that have been damaged
  • New plants pulled right out of the ground and laying on their sides next to the planting hole
  • A visible ring of damage on evergreens, stopping at about five feet off the ground
  • Piles of deer droppings in the yard, especially next to browsed plants
Deer damage on Dicentra 2
Notice how the deer tears the stalks off, often leaving pieces behind that they drop
Deer damage on Dicentra
This close up shows the ragged look of deer damage

Gardening in Winter

Red and Yellow Twig Dogwood

Warm winter days are the perfect opportunity to finish up some of the chores you might not have been able to get to in the Fall. Just be careful not to work on days when the soil is overly soggy. Walking in and out of your garden spaces can cause soil compaction. Here are a few things that you can do when the wind dies down and your energy is high:

  • Pruning – Almost any woody plant can be pruned this time of year. Just be careful with spring flowering shrubs; most of these set their flower buds last year at the tips their branches. Pruning plants like Azaleas, Rhododendrons, Weigela, and spring flowering Viburnums this time of year can leave you with little or no blooms.  But its a great time to do formative pruning on ornamental trees. Most summer-flowering shrubs prefer to be pruned while dormant, including roses. One of the first tasks landscapers do when they return to the field is Hydrangea pruning. If the pros can do it, so can you!
  • Garden Cleanup – If you take the time to clean up your garden now, you can take it easy and wait for the daffodils to pop up in their tidy beds this spring. You can cut down ornamental grasses and any perennials still left standing. Rake up the pine needles that have piled up on the lawn.
  •  Top Dressing – There is still time to top dress your flower and vegetable beds with compost or manure. The rain, snow and freezing and thawing of late winter will weather the nutrients into the soil. It only takes a few consecutive days of warm weather for soil organisms to begin breaking down the remaining organic matter on the surface, making nutrients available to your plants when they awaken in the spring.

Stone

Stone BlocksNothing gives the landscape a feeling of age and permanence like stone. At Surfing Hydrangea Nursery we offer a variety of stone for all purposes. Whether you are building a retaining wall, patio or apron, we likely offer a product that will suit you. Take a moment to look at our stone display during a visit to the nursery, or contact us and we would be happy to get you exactly what you need.